Tools and Materials
- (4) 2×10 x 12’ treated pine
- (1) 2×10 x 8’ treated pine
- (6) 2×4 x 12’ treated pine
- (1) 2×4 x 8’ treated pine
- (6) 1×6 x 8’ treated pine
- (100) 2-1/2” deck screws
- (50) 2” deck screws
- exterior stain clear and/or colored
- measuring tape
- carpenter’s square
- pencil
- circular saw or table saw
- clamps
- drill
- level
- soil
- plants
- pea gravel
Cut List
- From one of the 2×4 x 12’ boards, cut eight pieces 11-1/2″ long (inside supports for the long side of the box).
- Cut the other four 2×4 x 12’ boards to 11’-9″ (inside supports for the long side of the box).
- From the 2×10 x 8’ board, cut four pieces 21” long (short sides of the box).
- Cut four pieces of 2×4 boards to 18” long (inside supports for the short sides of the box), and two pieces to 17-3/4” (supports under bench)
- Cut the 1×6 x 8′ boards in half (about 48-1/4”). Then cut each board to 47-1/2” long, removing the factory edge (for the bench).
Build the Long Sides

Attach Short Sides
Stand the two long sides up with the center support boards (2x4s) facing each other. On one end, stack two of the 2×10 x 21” boards between the long sides — they should fit into the 1-1/2″ indent at each end. Clamp both short-side boards to both long sides. Use 2-1/2” screws to attach the short side pieces (2x10s) to the 2×4 inner support pieces of the long sides. For extra support, attach two 2×4 x 18” pieces on the inside of the short 2x10s, one at the top and one at the bottom. Repeat for the opposite end of the planter box.
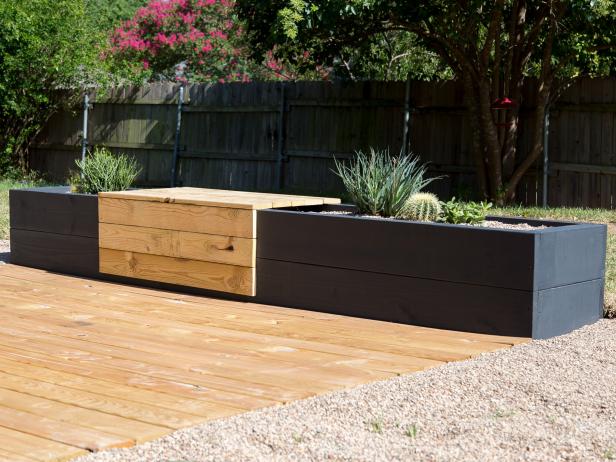
Prepare the Planter
Position the planter where it will stay. Use a level to make sure the planter is level from end to end and from side to side. Note: The planter will be quite heavy. This will require more than one person to move.
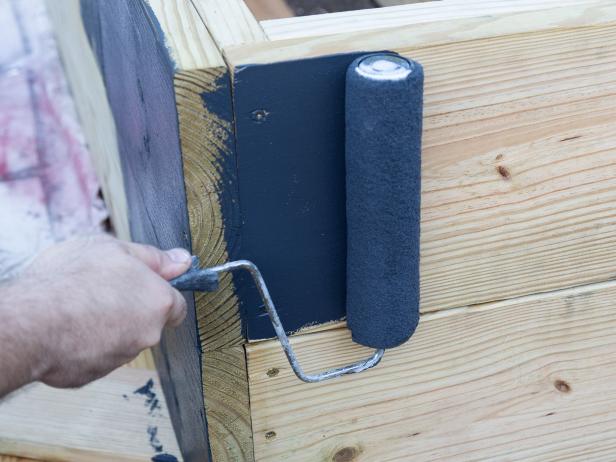
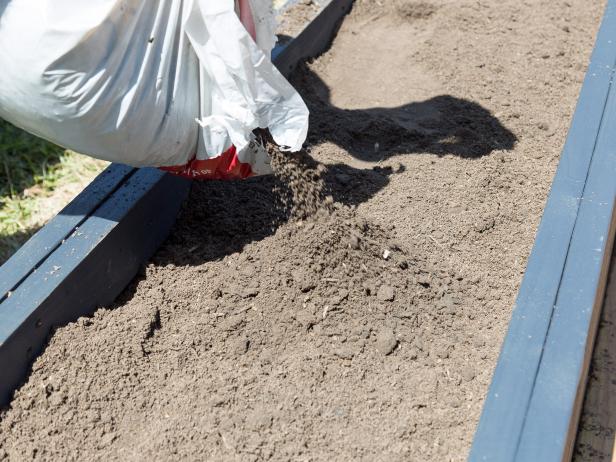
Stain or paint the planter according to the manufacturer’s directions and allow for the appropriate drying time before proceeding. When it is dry, fill the planter with soil about three inches from the top.
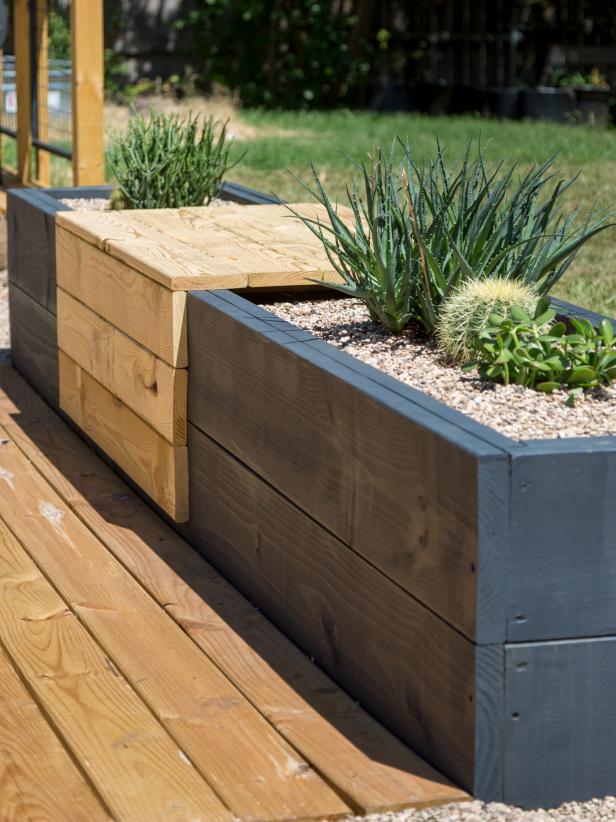
Build the Bench
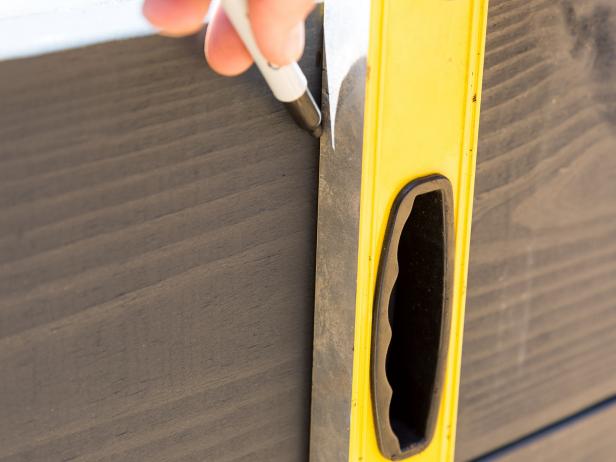
Measure in three feet from one end of the planter. Make a vertical line with a level starting at the top and stopping about three inches from the bottom. (Image 1) Use 2″ screws to attach the first 47-1/2” board against the face of the planter box with the long edge flush with the top of the planter box and the short edge flush with the level line. Use a clamp to make sure the board stays flush while attaching.
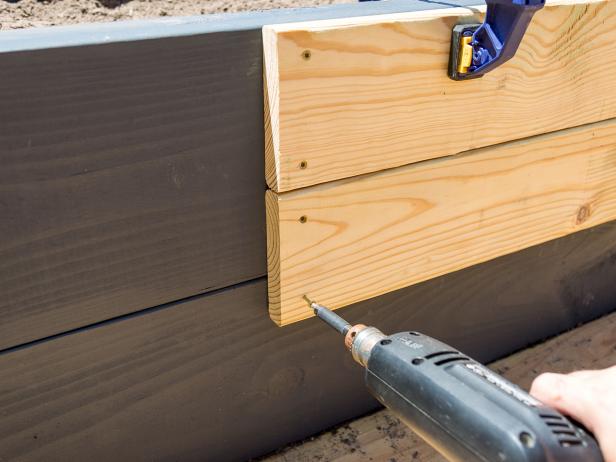
Add two more 47-1/2” boards under the first one, lining up the edges (Image 2). Attach the first of the horizontal seat boards, lay the long edge flush with the front of the top 47-1/2” vertical board. Fasten this board into the planter top using 2” screws.
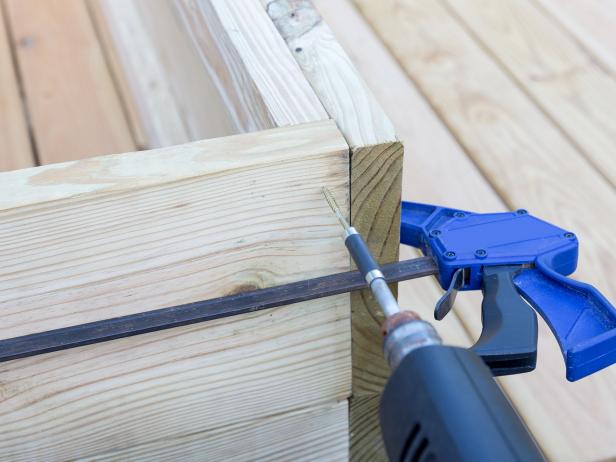
To add extra support under the bench, place two 2×4 x 17-3/4” boards in the planter under the first seat board, spaced about 9 inches from each end. Clamp the seat board to the 2×4 support boards and screw them together (Image 3).
Place another seat board on the opposite side of the planter. Hold a 47-1/2″ board against the outside of the planter to make sure the seat board is flush with the outside of it. Screw the seat board into the planter top. Use the clamps again to secure the seat board to the 2×4 support boards in the planter. Screw the seat board in place using 2” screws.
Add the 47-1/2” boards to the outside of the planter under the seat board in the same way as the opposite side. Fill in the seat by attaching two more 47-1/2” boards flush with the outside seat boards. You will have a gap in the middle. Rip one 47-1/2” board 3-3/4” wide (or whatever you need to fill the gap). Place it in the gap and secure it using 2” screws.

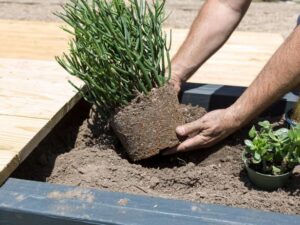
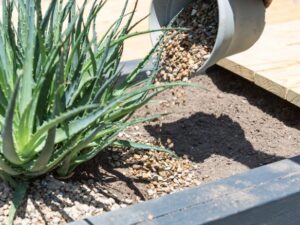
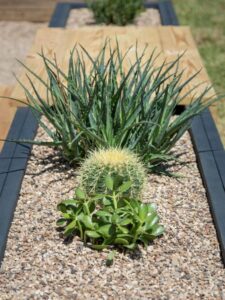
Add the Plants
Add the plants to the soil and water as needed. Add pea gravel to 1” below the top of the planter.